GarageBand: Aggregate Device
Make sure Finder is
active by clicking on its icon in the Dock

Open a new Finder Window

Select "Utilities" from the "Go" Menu

Find Audio MIDI Setup utility, and launch it

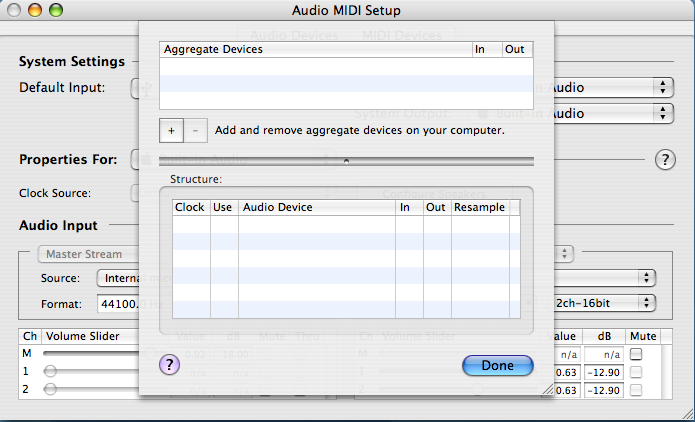
Once AMS is open, choose "open aggregate device Editor" from the audio menu.

And you'll see a window like this

Press the
 button, and a new aggregate device is created.

Double click the highlighted text, and enter a new name for your aggregate
device. I'm going to name mine with the three devices I intend to use so
that it will be easy to see of what this virtual device consists. This might
be important if I were to create several different aggregate devices for
different purposes at a future date.

Press return.
Now we can select the devices that we wish to add to our Aggregate Device.

Notice that the iMic is listed twice, First as an output device, and then as
an input device. Since we're creating an input device, we're only interested
in the latter.
One important note to mention is that all the devices have to have the same
sample rate to work together. In the case of GarageBand that means a 44.1K
sample rate (See: Setting Sample Rates and Bit Depth)
Click the
 button, and you can quit Audio MIDI Setup.
Now we are ready to make use of our new aggregate device in GarageBand. Open
GarageBand's preferences.

Click the
 tab, and select your new aggregate device from the input popup menu

When GarageBand asks you...

Choose "Yes", wait a moment for the drivers to initialize, and now you can
use any of the channels your Aggregate Devices consists of for multi-track
recording.

