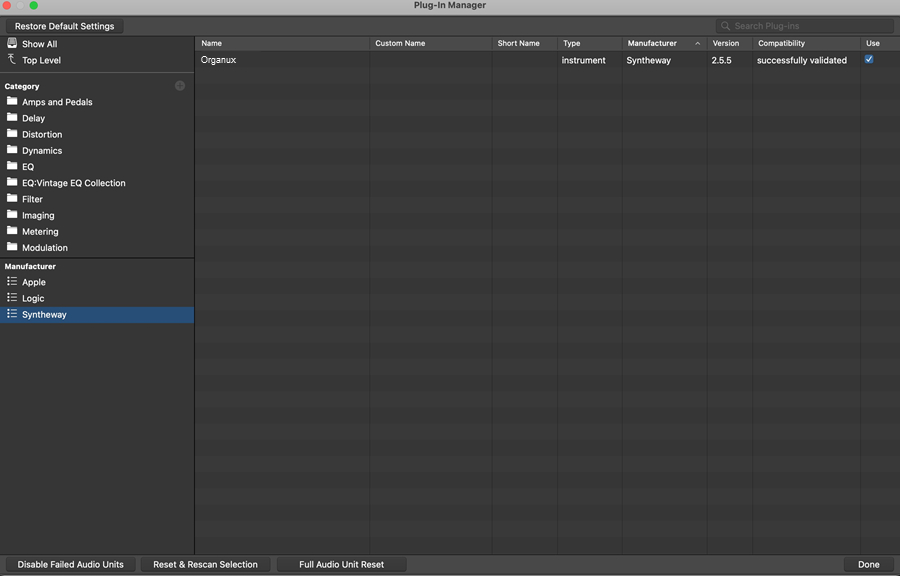
You can organize and manage both
built-in and Audio Units plug-ins by simply dragging within
the Plug-in Manager window. You can also create new plug-in
categories, rename or remove existing categories, create
custom and short names for plug-ins, and search for
individual plug-ins by name.
When Enable Complete Features is selected in Logic Pro >
Preferences > Advanced, the Plug-in Manager is available in
Logic Pro Preferences.
Choose Logic Pro > Preferences > Plug-in Manager.
Manually Enabling Plug-ins that
fail the validation test
1.- In Logic
Pro, select Show All in the upper-left part of the Plug-in
Manager window.
2.- Select the checkbox by the plug-in name in the Use
column.
You should be aware that plug-ins that fail the validation
test can cause problems. If you encounter problems with
manually enabled failed plug-ins, click the Disable Failed
Audio Units button underneath the left column.
Disabling Plug-ins
1.- In Logic
Pro, select Show All in the upper-left part of the Plug-in
Manager window.
2.- Deselect the checkbox by the plug-in name in the Use
column.
Rescan a
selection of plug-ins
You can rescan
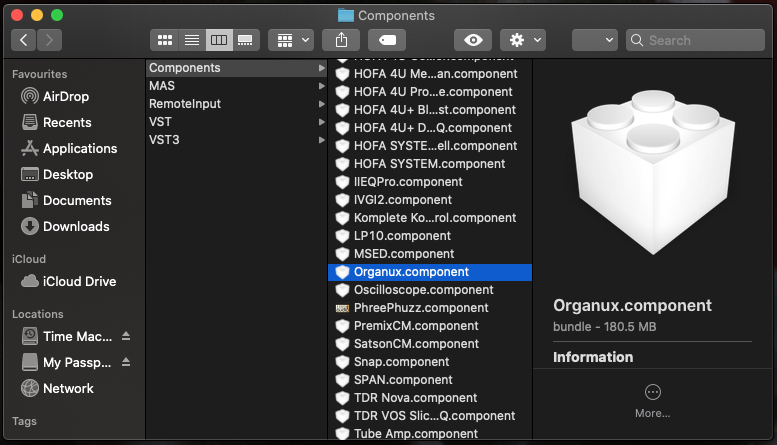
a selection of plug-ins after installing or updating
plug-ins, or moving components in the Finder to remove or
install plug-ins manually, while the Plug-in Manager window
is open.
-> In the Logic Pro Plug-in Manager, click the Reset &
Rescan Selection button.
The plug-ins are activated automatically, if they pass the
validation test.